Custom Search
 |
|
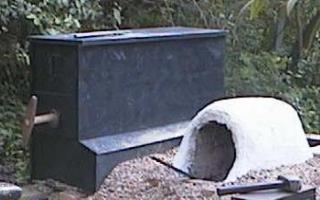
This is a modified version of a Japanese style sword forge. The only real difference from the ones I have seen is the covered dome. I saw something similar that a Japanese Saw maker was using. It made sense to me, the more heat you can trap the less fuel and effort you need to expend. Even though I use older methods I see no reason to be inefficient. |
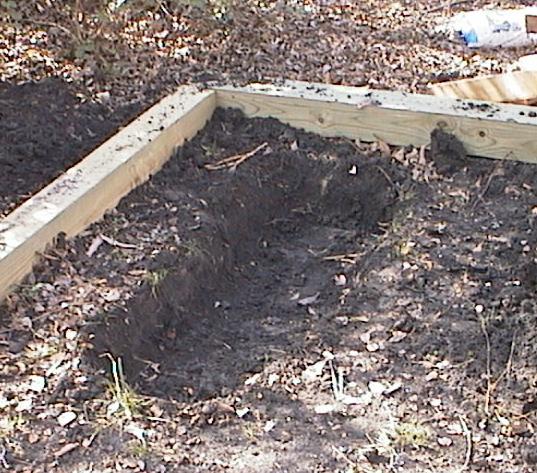
Broken down to its simplest terms, this is nothing more than a trench in the ground with a pipe coming in from the side. There are things we can do though to increase its performance. Let's start with what is under the forge. Since it is set in the ground, moisture in the soil will tend to draw heat away from it. So we need to isolate it. You may not need to go to this extreme but my soil is expansive black clay. Great for growing stuff but terrible to build on. |
| Click on any picture to see a larger view. |
|
First dig a pit. Dimensions are 16" wide by 10" deep by 48" long.
|
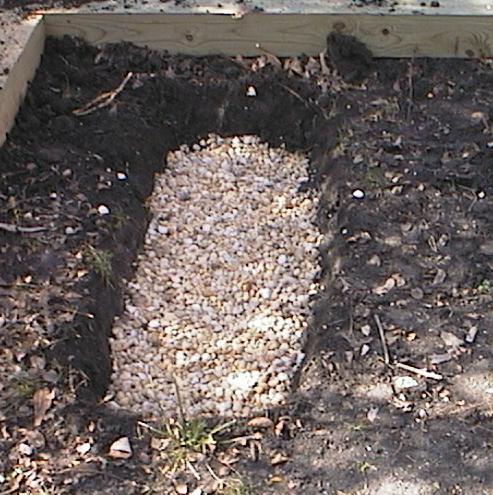
Put a layer of 1" gravel 3" deep.
|
Then a layer of pea gravel 3" deep.
|
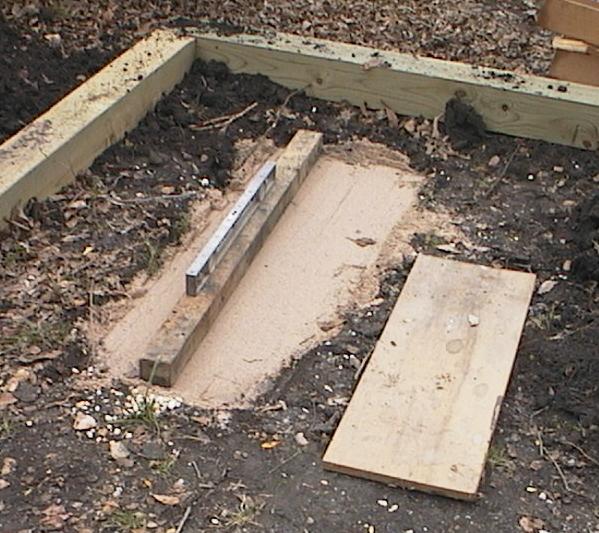
Put a 4" layer of sand in, Tamp it and get it reasonably level.
|
||
|
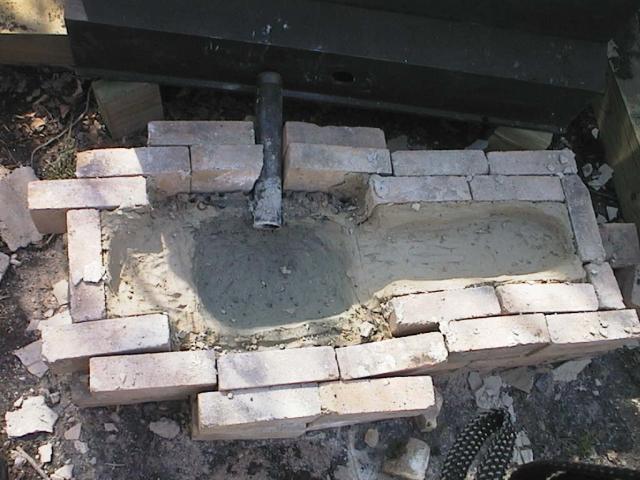
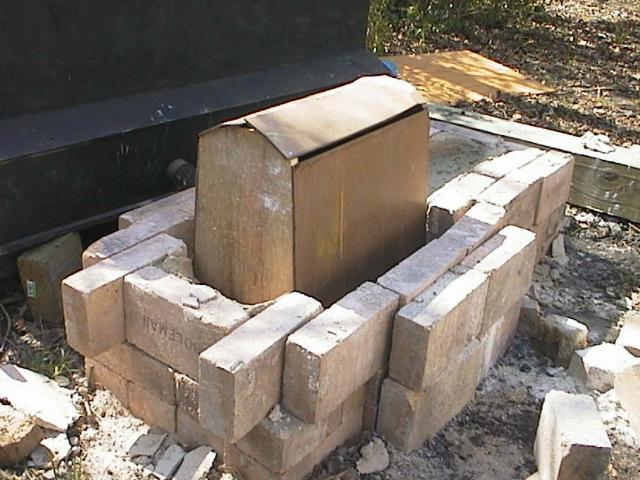
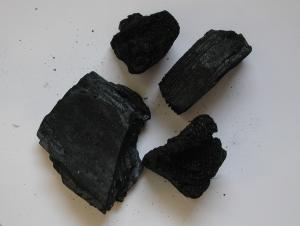
Here we are a little farther along. I stacked the brick first. The main width is 8". The area around the fire box is 12" wide by 16" long. This area starts about 4" in from the front. I then plastered it with clay as shown. I used Kaolin clay mixed in equal parts with #80 aluminum oxide and crushed charcoal. Any ceramic supply house will have the clay. Get the aluminum oxide from a sandblasting supply house and crush the charcoal from the stuff you made with our spiffy kiln we build elsewhere.
|
This is a closer view of what is going on. As you can see the pipe coming in from the side is pointed down and slightly back. This keeps the air from blasting up and creating more oxidation on the steel. After using this forge for a while I have decided the fire pit is too big. It is 3-4" deep, 8-9" wide and about 12" long. It wastes fuel. Much of the hot part of the fire is too low and the fire area is too big. You can see in a picture later on that the fire is concentrated on the left 2/3 of the pit. I modified it and made it 2" below the pipe, 6-7" wide and about 10" long. It works more efficiently now but there is room for more experimentation. Pipe is 2" black iron. Don't use galvanized pipe. The burning zinc ain't good for you.
|
I then built a form out of wood ends and hardboard sides. Length and width to fit around the fire pit and about 12" high. It could be lower for better efficiency, but as it is, it lets you see into the fire at a good angle.
|
|||
|
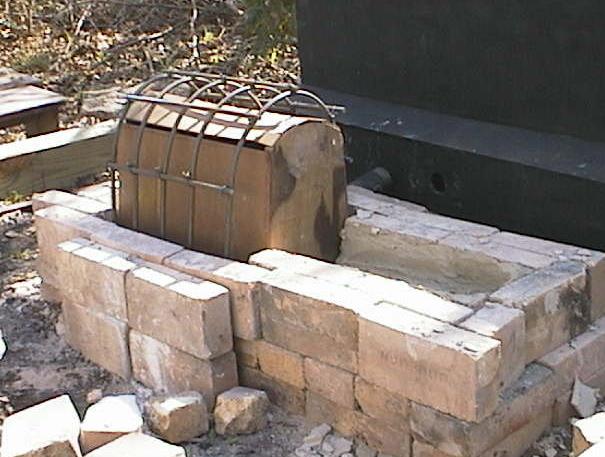
I bent 3/8" rebar into forms to reinforce the dome. 1/4" would have worked just as well and would have been much easier to work with.
|
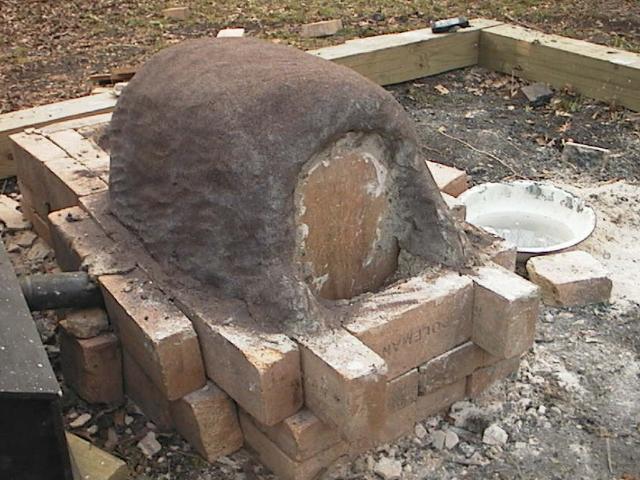
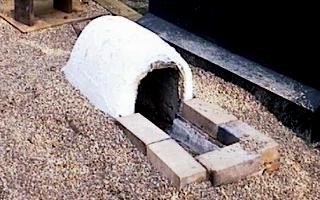
Here is the dome all plastered up. I had intended to just burn out the wooden form, but it was actually quicker to just drill a couple of 1" holes and saw between them with a keyhole saw. I then removed the end boards in two pieces and the inside boards came right out. The brown color is from the aluminum oxide I sprinkled all over it before it dried and pressed into the wet clay. After it dried, I plastered the outside with mortar to help protect it from the elements.
|
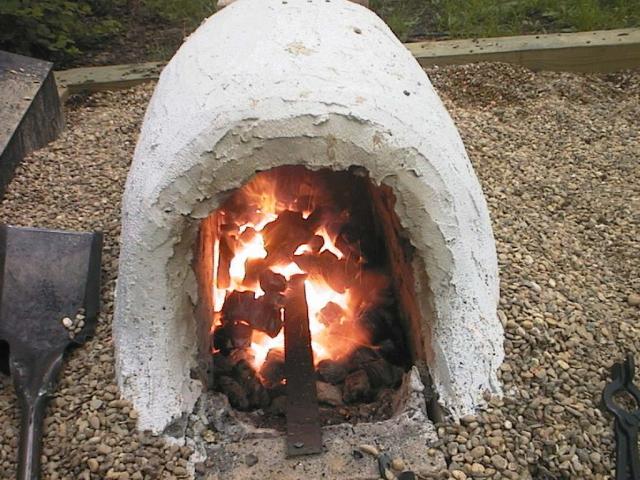
Ugh! Fire is good. As you can gather from the photos, the whole area was enclosed with 6x6 treated beams and then filled in with pea gravel. This was partly done for aesthetics and to raise everything up out of the mud when things got wet. But , you can build a similar forge by digging a small fire pit where the pipe comes in and stacking brick directly on the ground. I helped Mr. Yoshihara do just that on the grounds of the Dallas Museum of Art for a week long demonstration. Takes about an hour to do it and it works surprisingly well. I have to continually fight the urge to over-engineer stuff.
|
|||
Over the years that this site has been up I have made it free for the taking. However, now I would like to spend more time on it and add more information. And as we all know time is money. So if you find some value here please make a donation. Thank you for your support. |
 |
|
© 2002 Daniel O'Connor. All rights reserved |